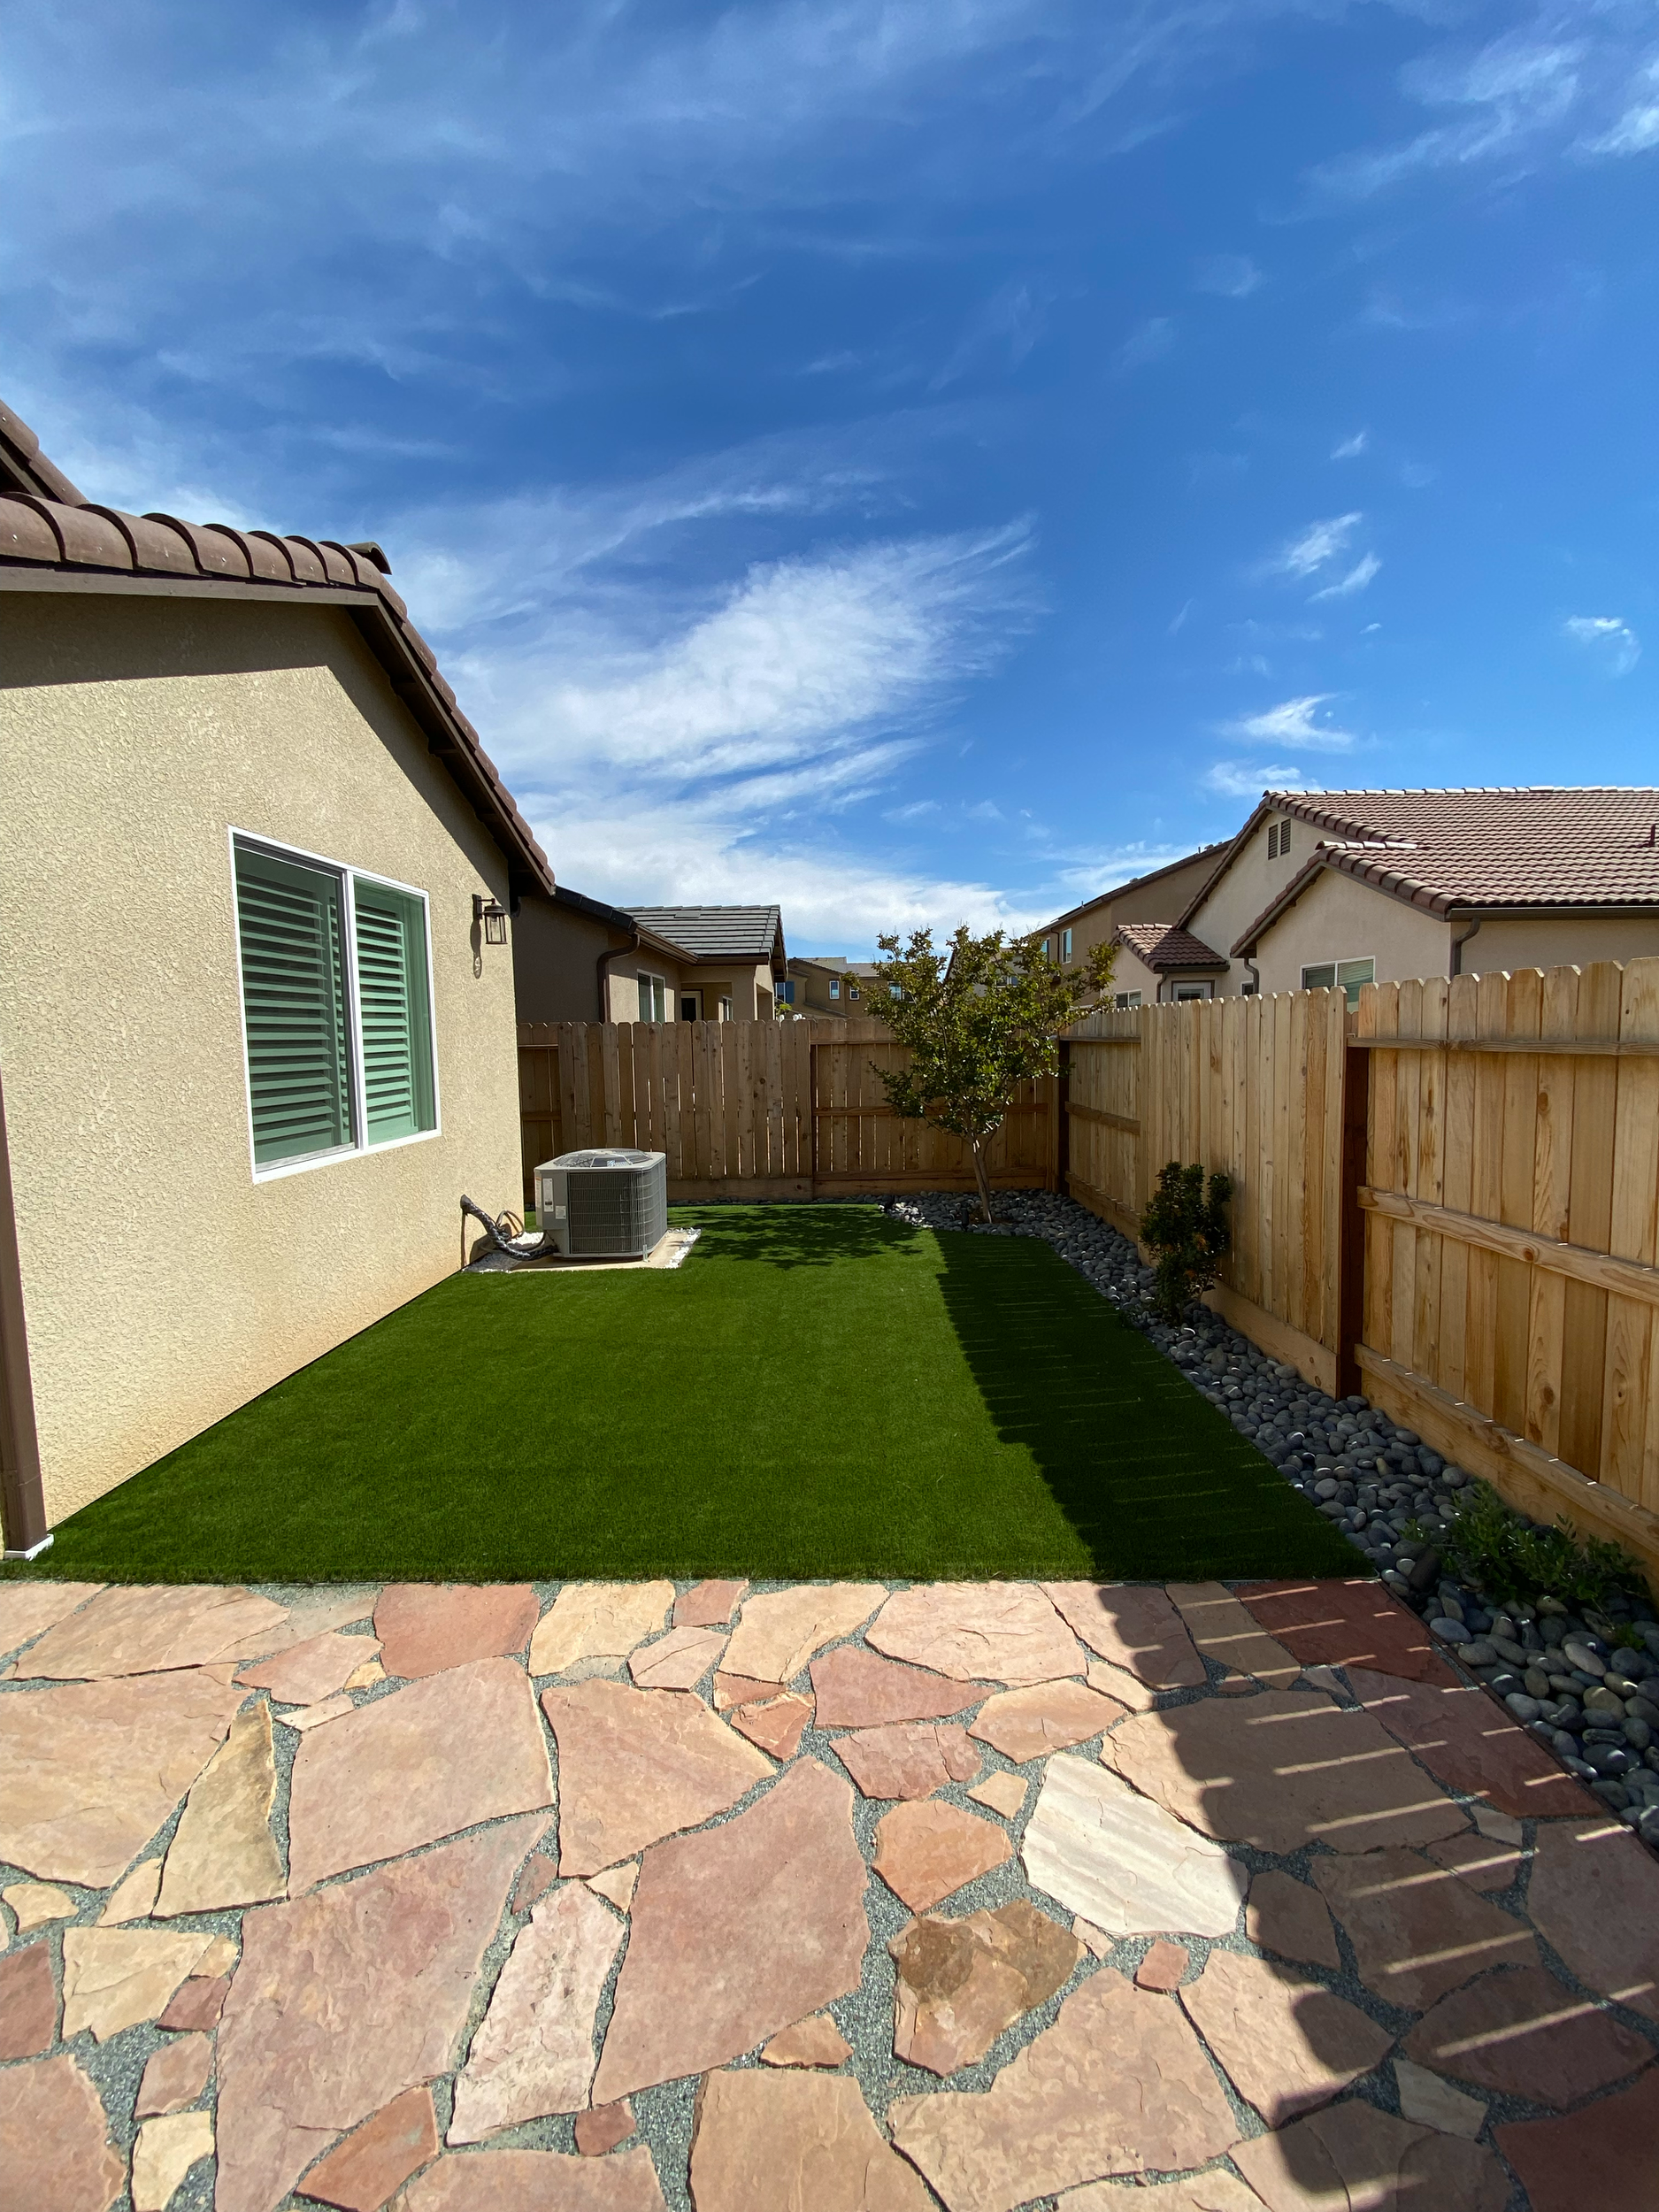
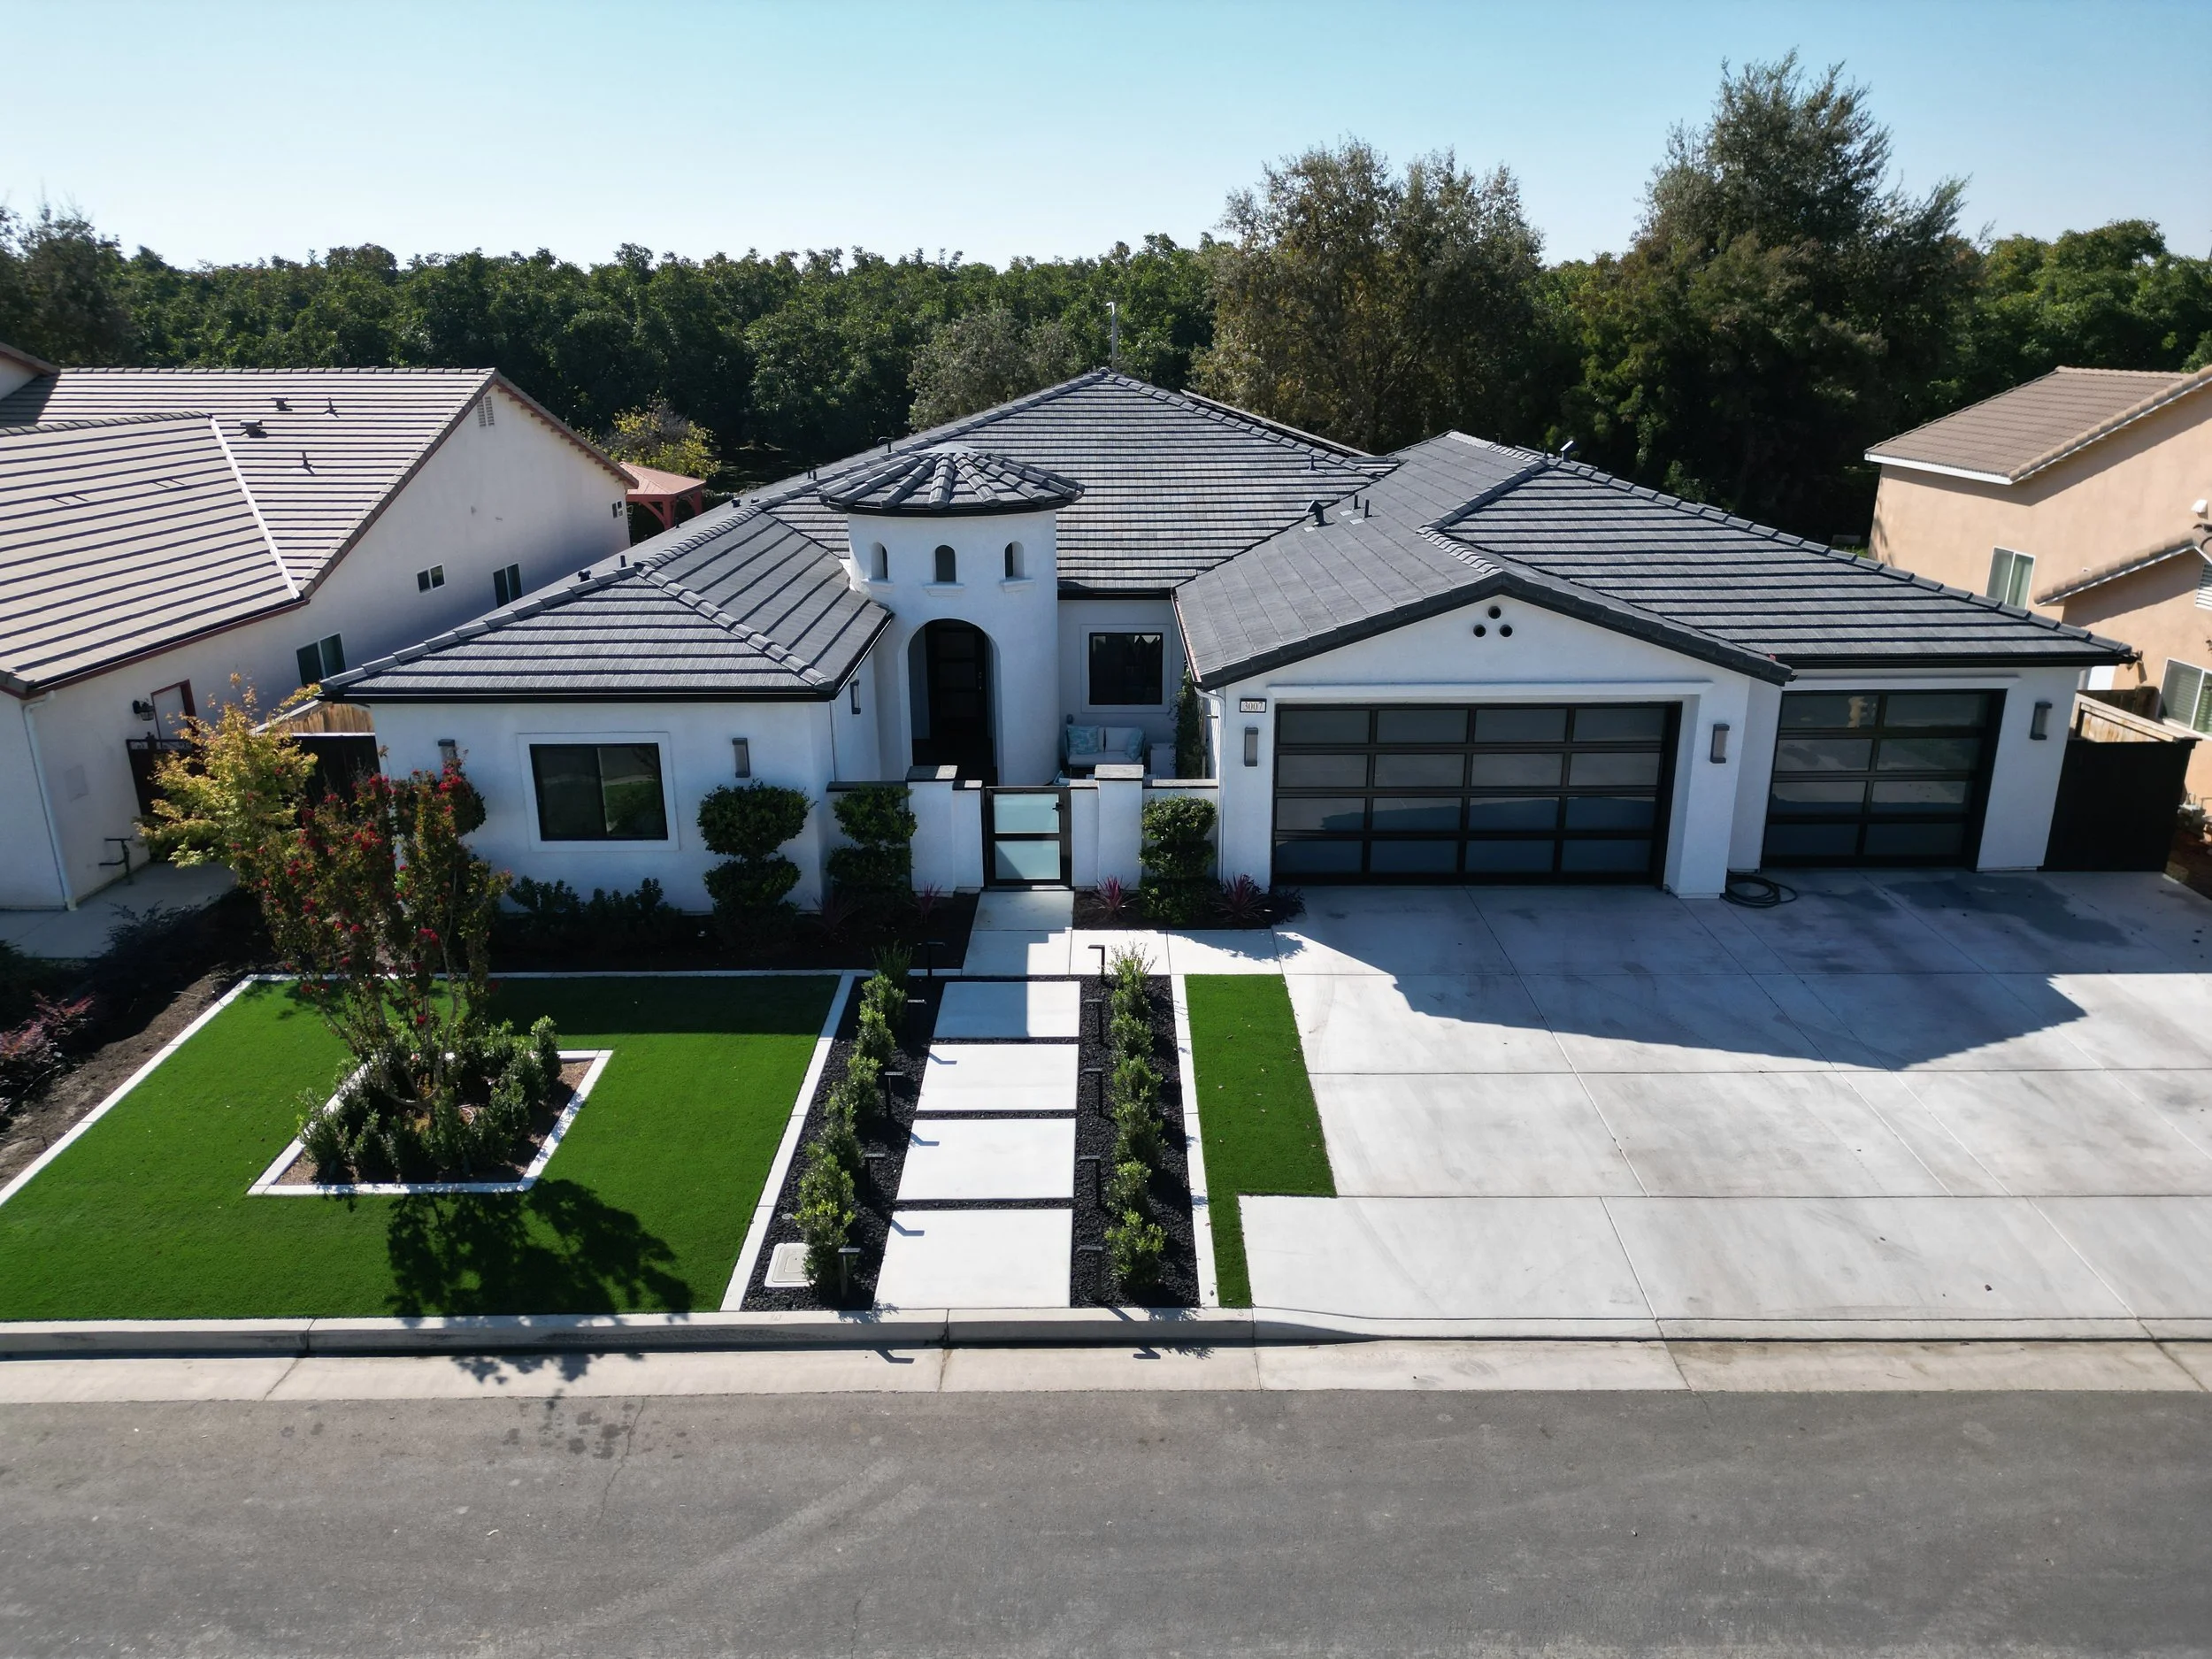
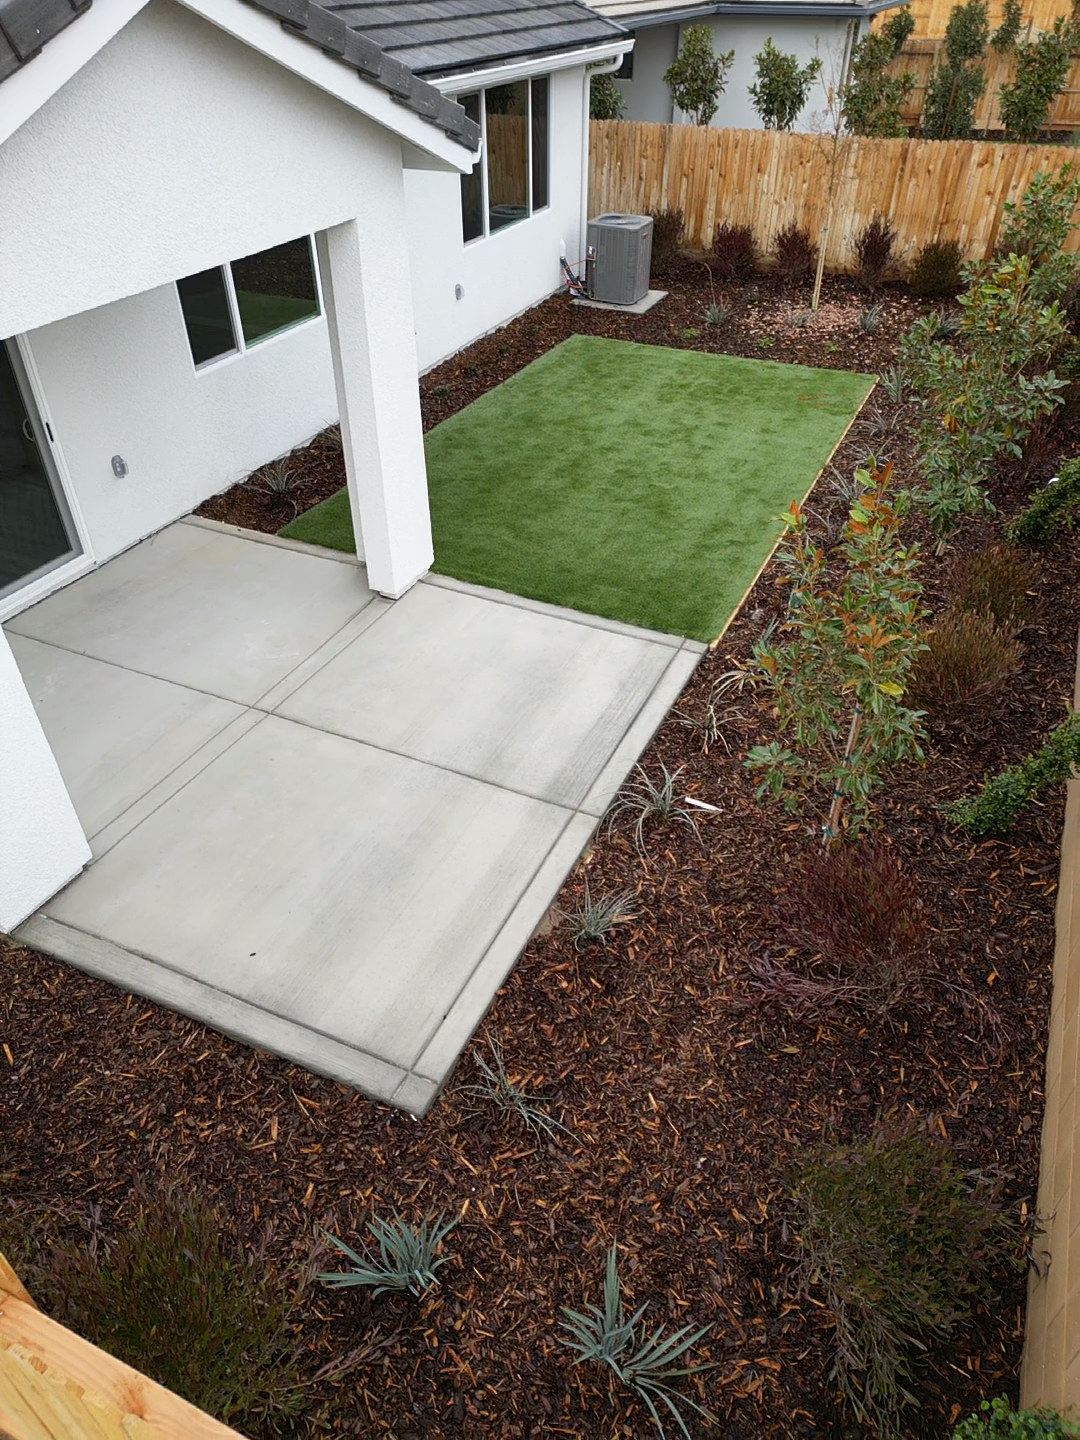
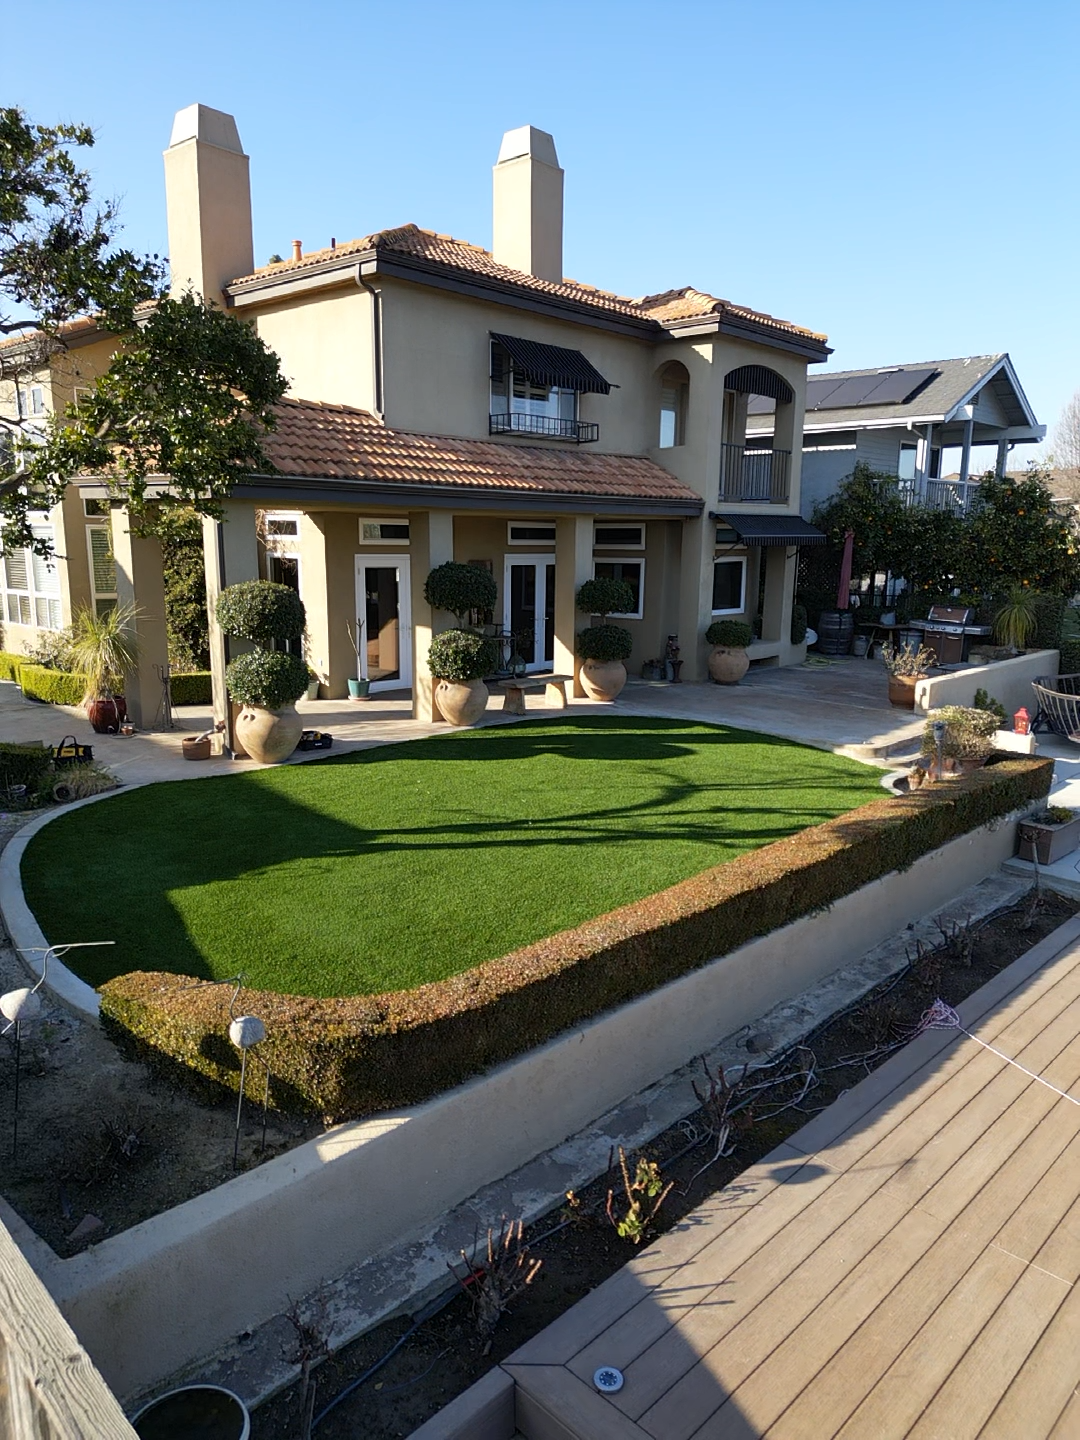
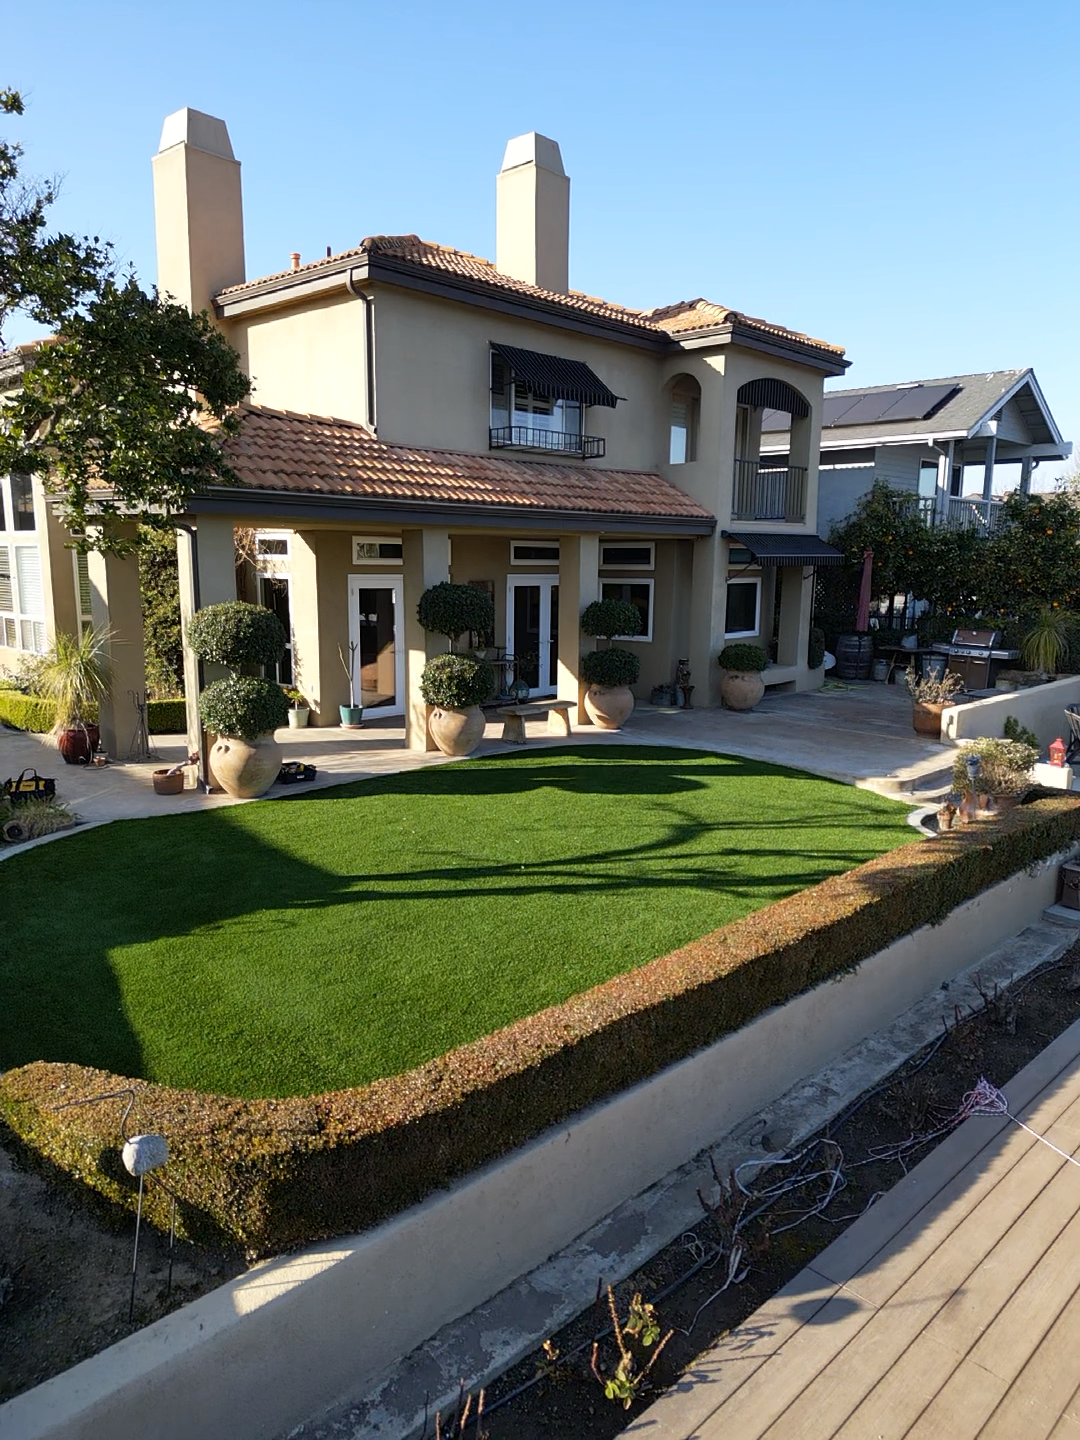
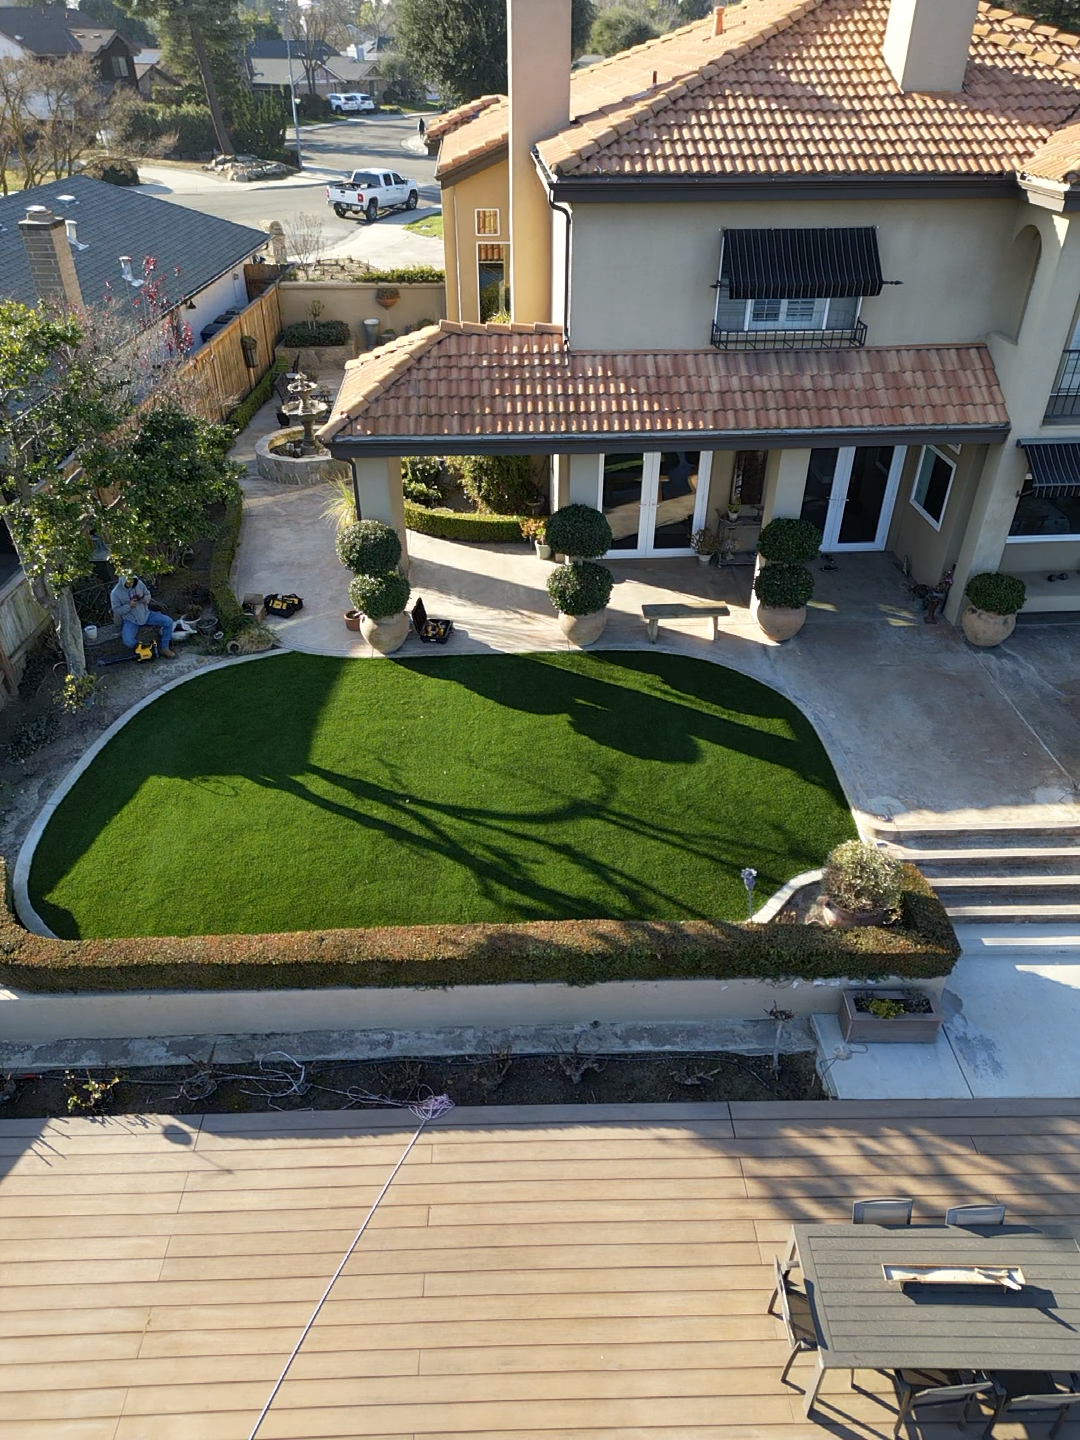
Artificial turf installation in Fresno, Clovis, and Madera, Ca
Get a gorgeous green lawn that saves water and money! Our realistic artificial turf is the smart, sustainable choice for an immaculate yard, year-round.


Contact us.
Go green, stay green. 🌿 Swap your lawn for premium artificial turf. Reach out today for a free estimate!
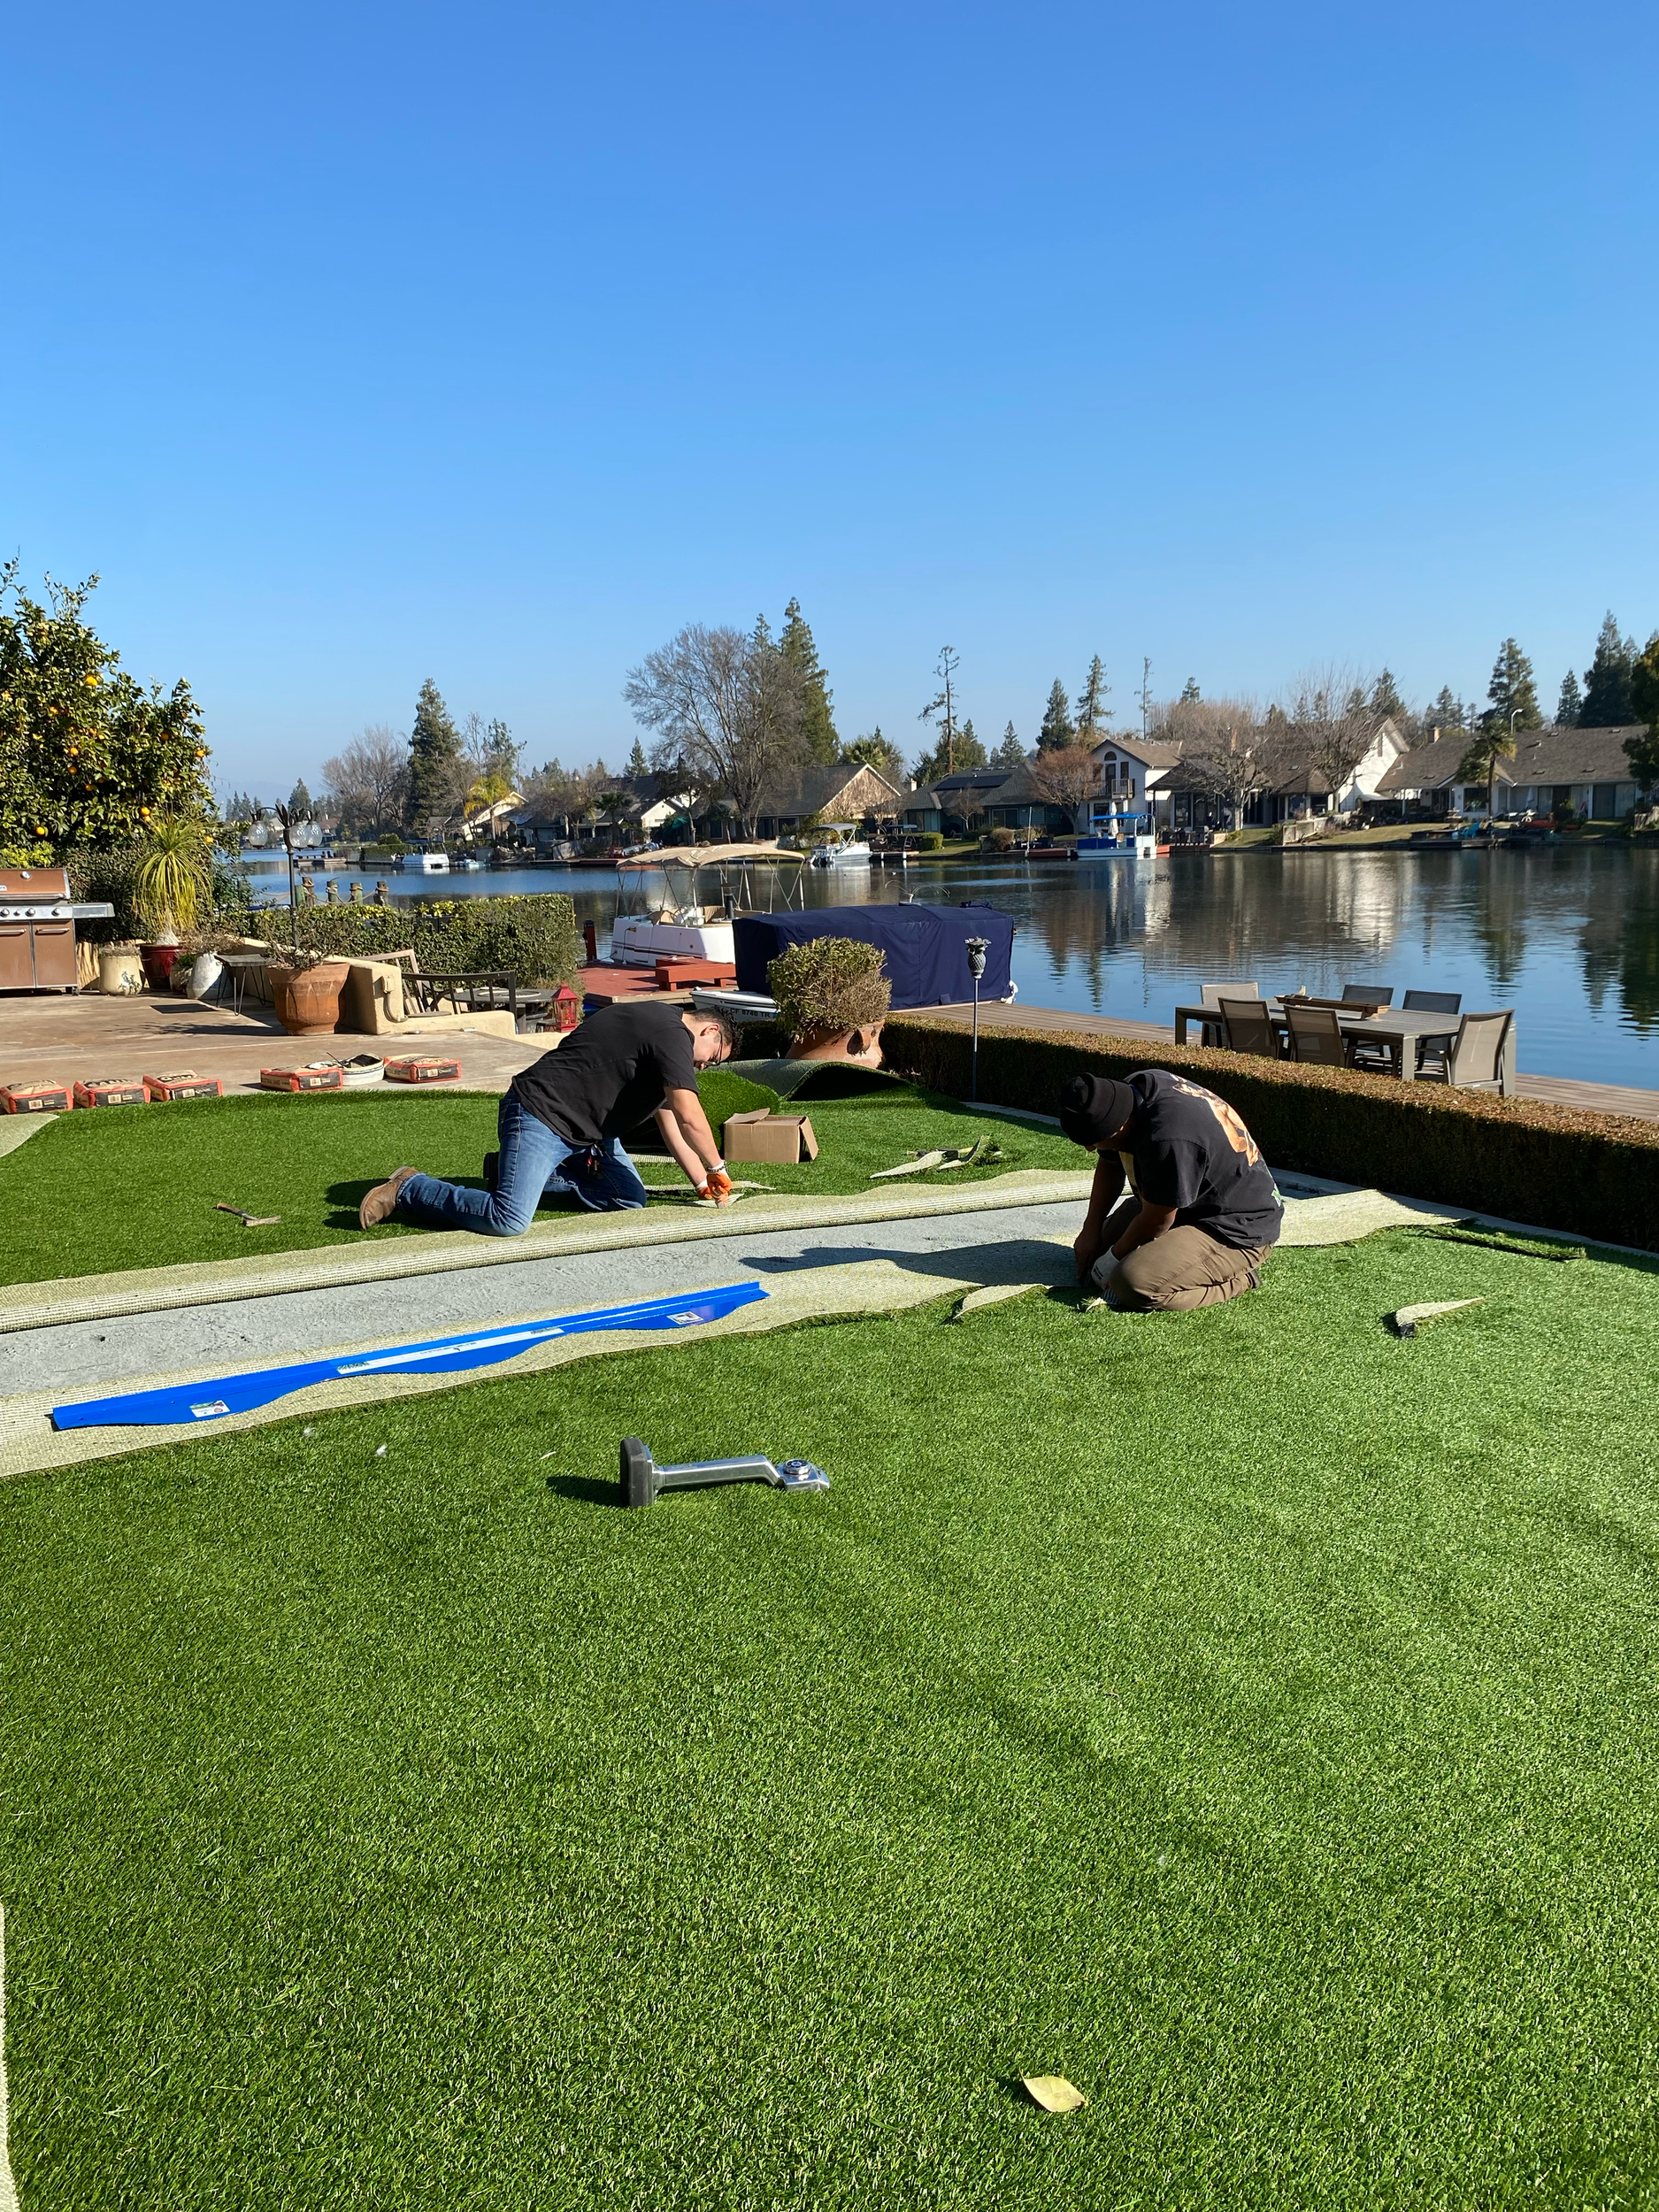


Our Installation Process
We follow a meticulous step-by-step process to ensure a flawless, durable, and beautiful artificial lawn.
Step 1: Base Preparation 🏗️
A solid foundation is crucial for a long-lasting and professional-looking turf installation.
Excavate: Dig out 4-6 inches of existing soil and vegetation. This creates space for the new base and ensures proper drainage.
Install Border: If a hardscape edge doesn't already exist, install a border to frame the turf area. This contains the base material and provides a clean edge for securing the turf. Options include a 6" concrete curb, pavers, aluminum bender board, or pressure-treated wood.
Cap Sprinklers: Locate and cap or completely remove any existing sprinkler heads in the area.
Compact Soil: Use a tamper or plate compactor to firm up the exposed native soil, creating a stable sub-base.
Add Base Material: Spread 2-4 inches of a compactible material like Class II road base or decomposed granite evenly over the compacted soil.
Compact and Level: Lightly water the base material and then compact it with a vibrating plate compactor. Ensure the surface is smooth and has a slight grade (about 1-2%) to facilitate drainage.
Step 2: Weed Barrier and Turf Laying 🌱
This stage involves preventing future weed growth and positioning the turf.
Install Weed Barrier: Roll out a geotextile weed barrier over the entire compacted base. Note: This step may be skipped if pets will frequently use the area, as it can trap odors.
Unroll Turf: Carefully unroll the artificial turf over the prepared area. It's critical to make sure all turf fibers are facing the same direction for a uniform, natural appearance.
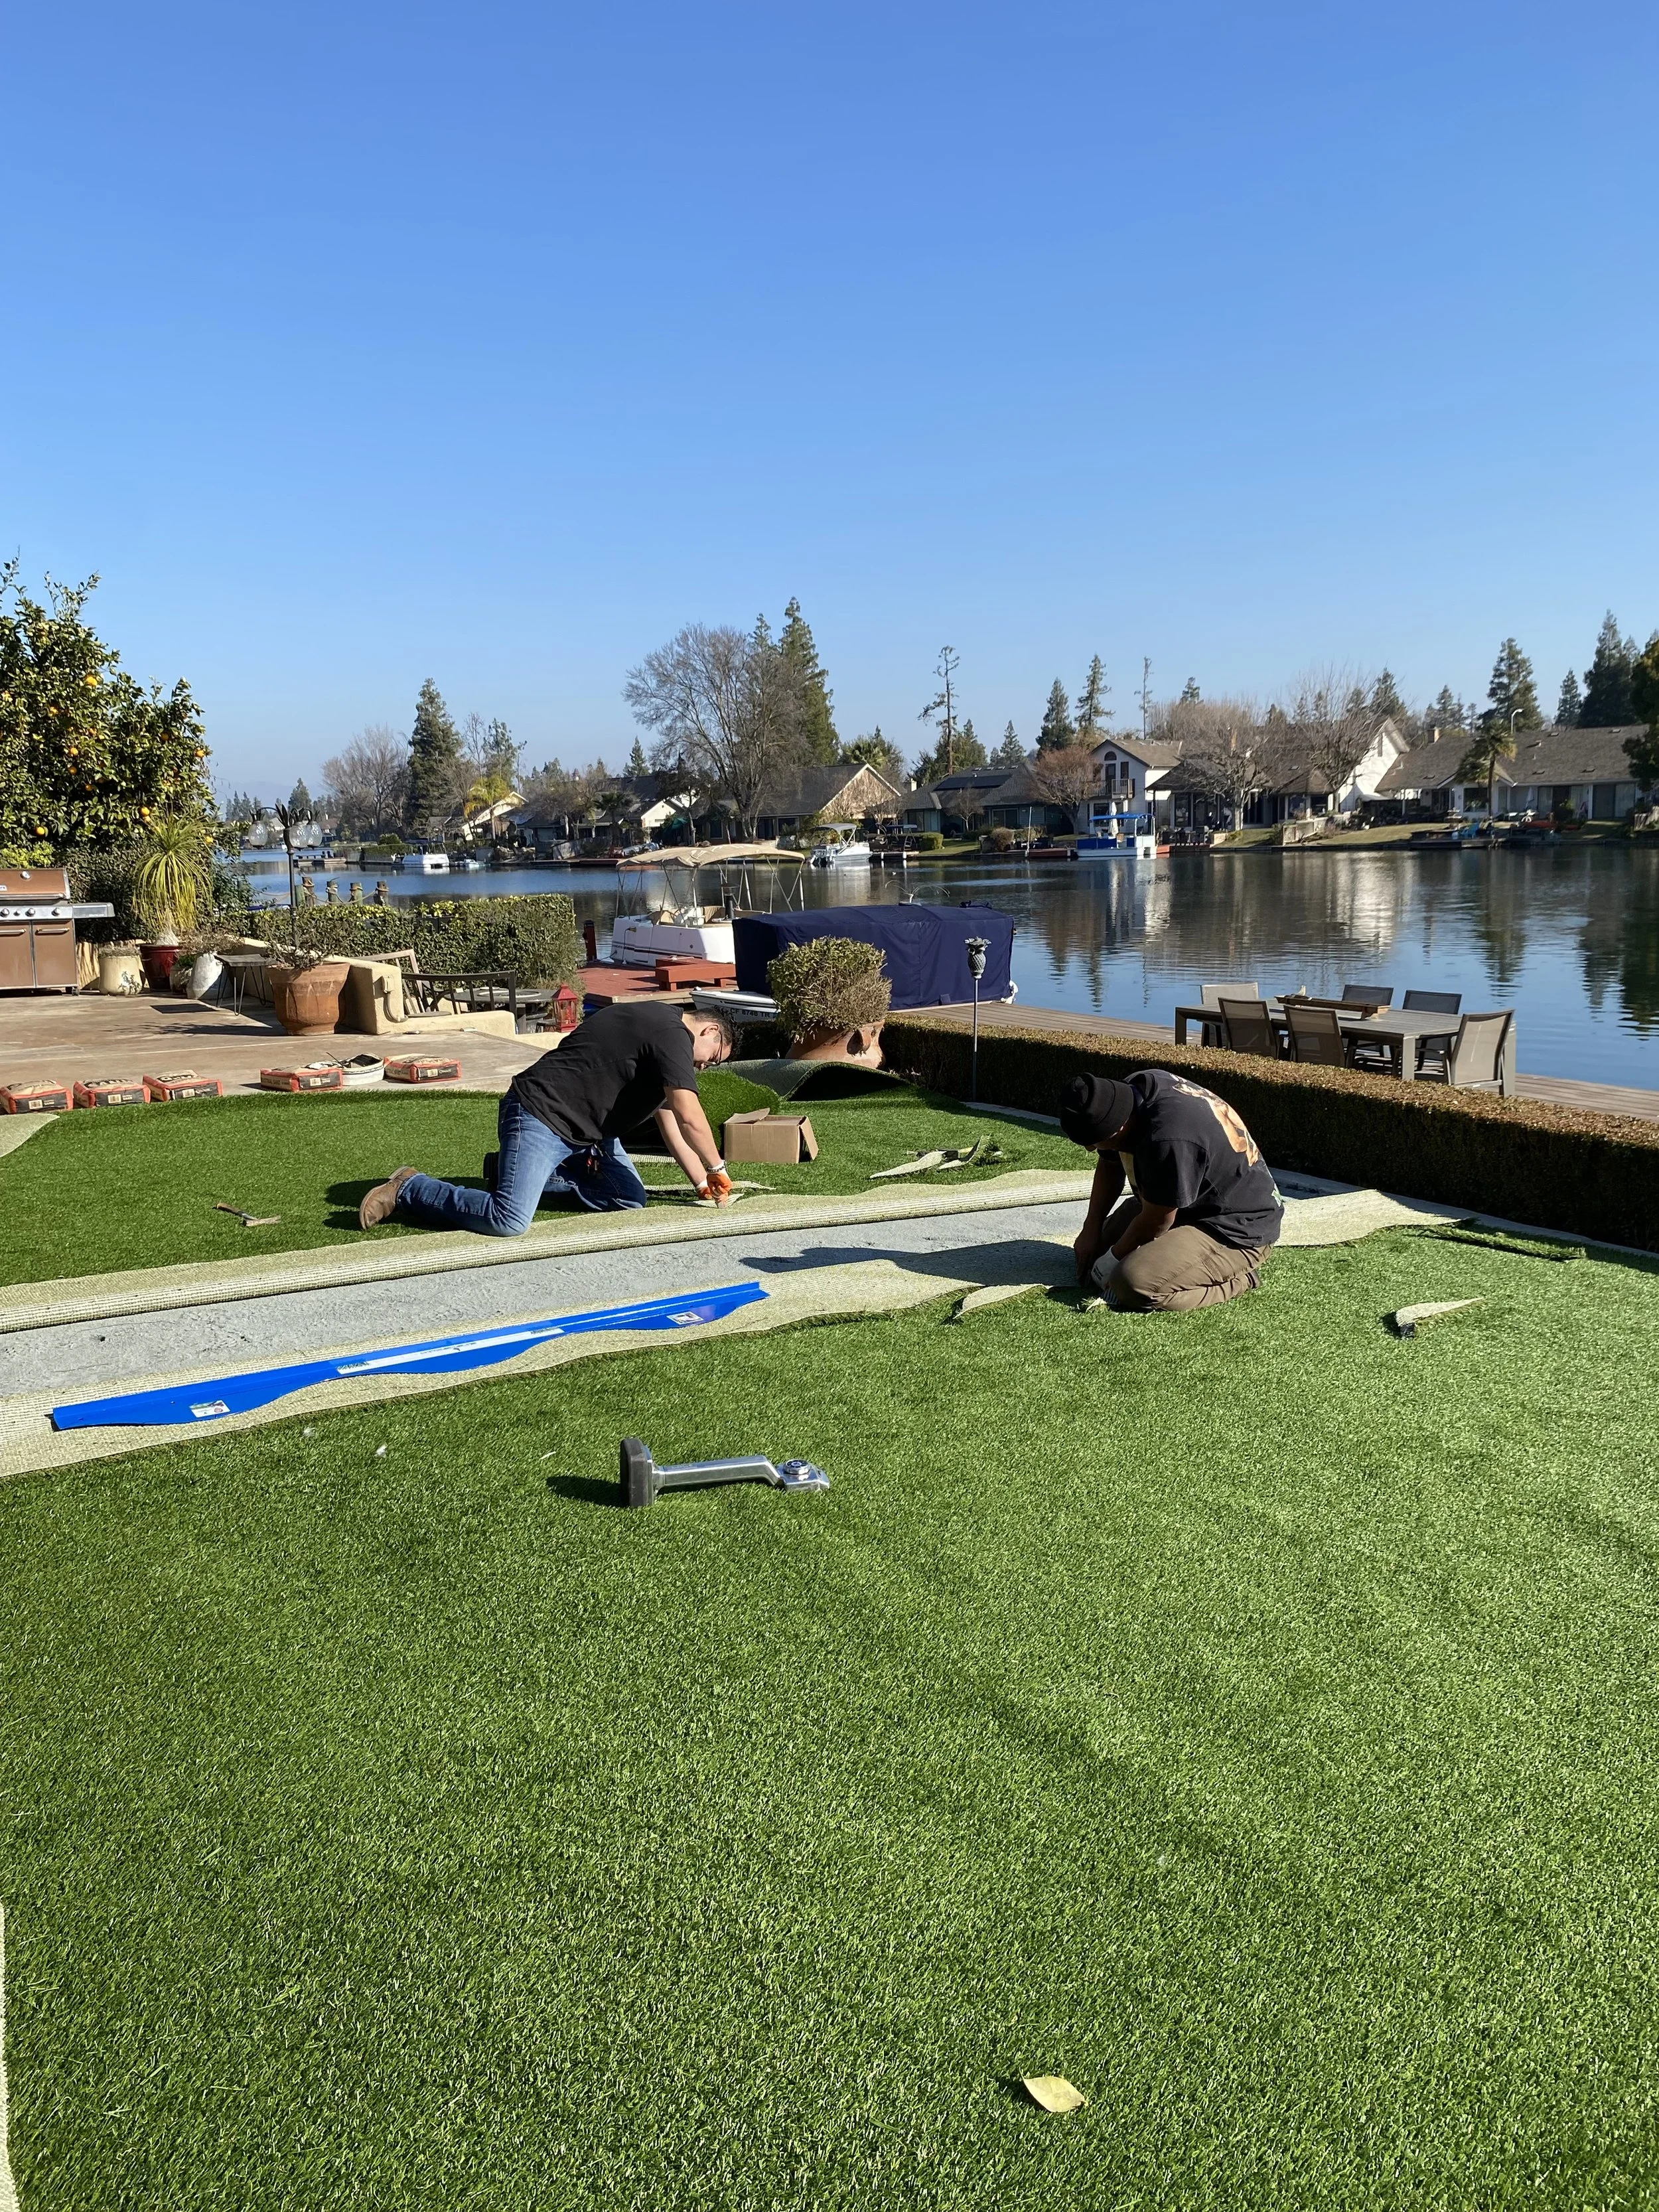
Step 3: Cutting and Securing the Turf ✂️
Properly stretching and fastening the turf prevents wrinkles and ensures a tight fit.
Rough Cut: Trim the turf edges, leaving a few extra inches around the perimeter for final fitting.
Stretch and Fasten: Use a turf puller or carpet kicker to stretch the turf taut, removing any wrinkles. Secure one end with 5-6 inch landscape staples or nails.
Nail the Perimeter: Continue stretching and fasten the entire perimeter, placing nails or staples every 8-12 inches.
Cut to Fit: With the turf secured, use a sharp utility knife to make precise cuts along the final edges for a perfect fit.
Step 4: Seaming (If Necessary) 🧩
If your installation requires multiple pieces of turf, creating invisible seams is key.
Join Edges: Line up the edges of the two turf pieces, ensuring the fiber direction matches.
Apply Seam Tape and Glue: Fold back the edges and place synthetic turf seaming tape directly on the base material. Apply a specialized turf adhesive to the tape.
Secure Seams: Carefully press both turf edges onto the glued tape. Drive turf staples every 4 inches along both sides of the seam for extra reinforcement.
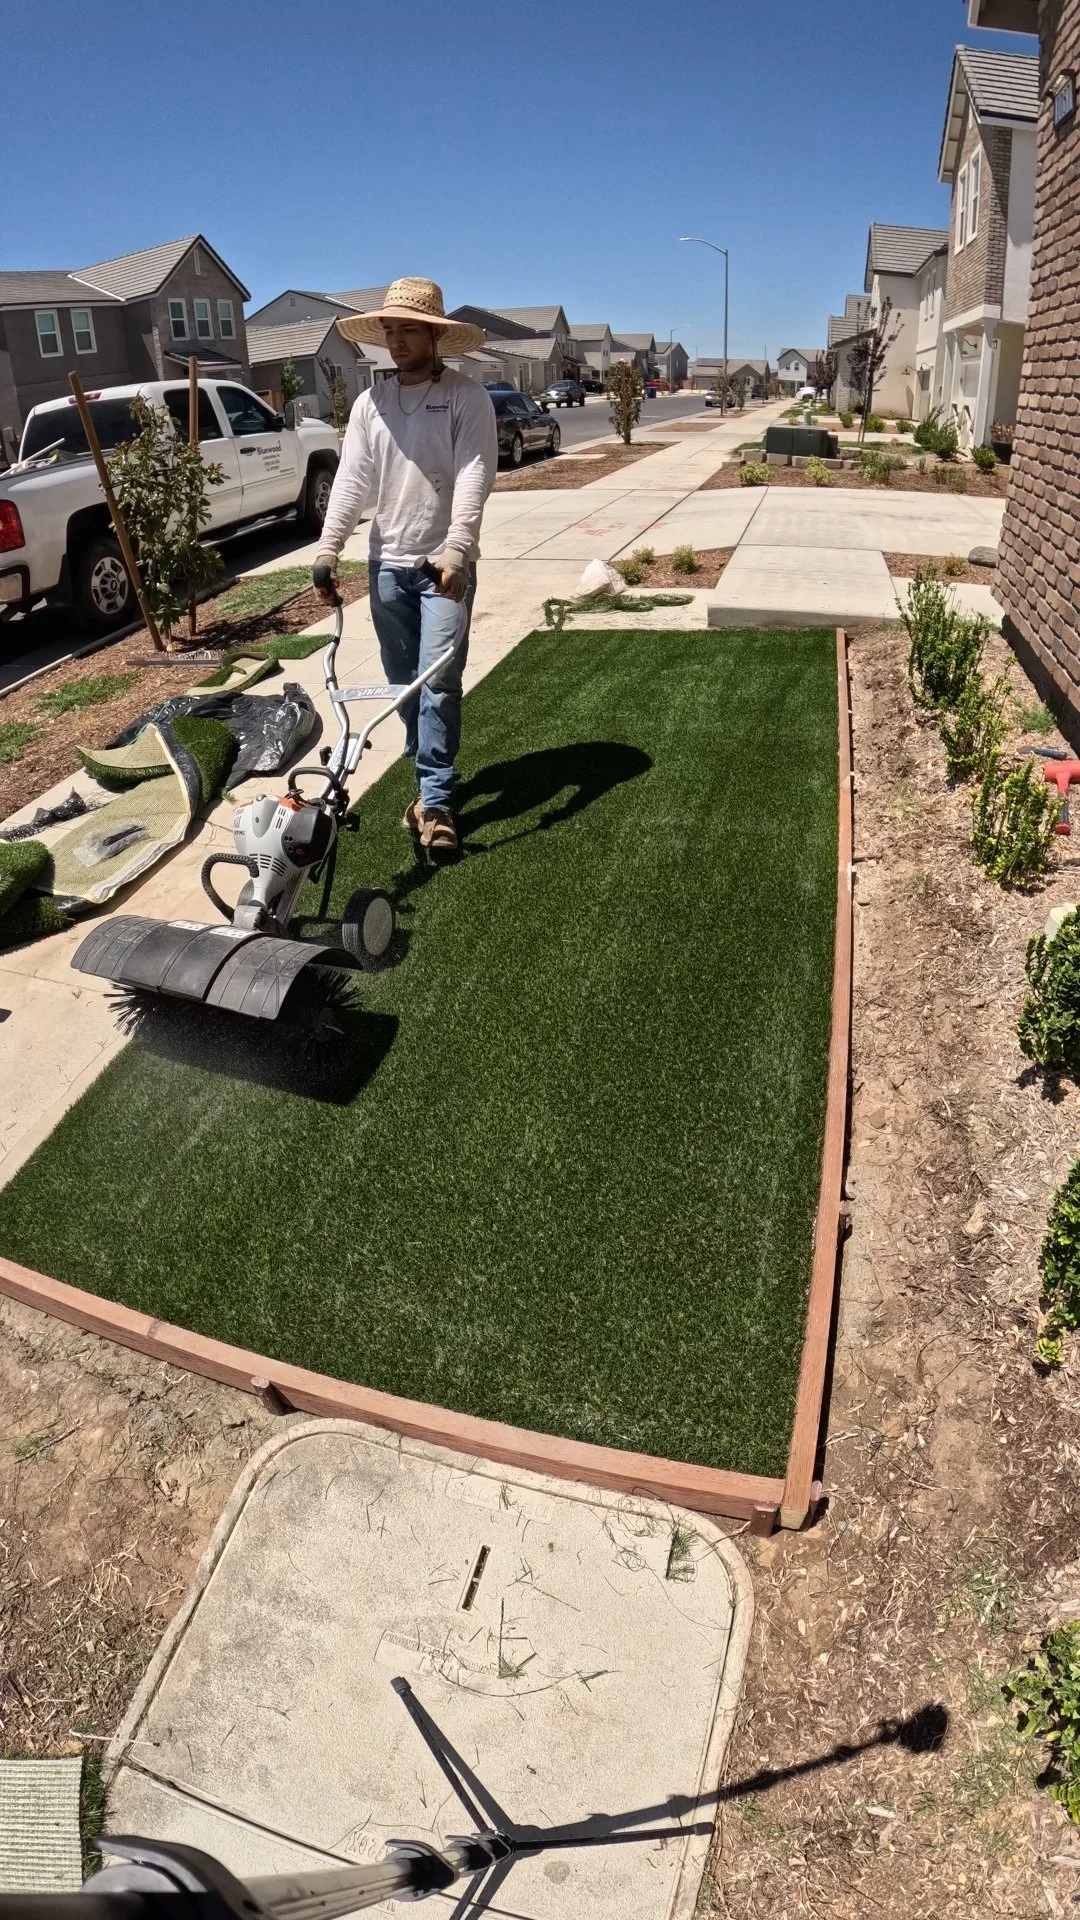
Step 5: Infill Application 🧹
Infill provides stability, protects the turf fibers, and gives the grass a realistic feel.
Spread Infill: Use a drop spreader to evenly distribute your chosen infill material across the turf surface.
Power Broom: Use a power broom to work the infill down into the base of the turf fibers. This crucial step helps the fibers stand upright and protects the backing from UV rays.
Final Grooming: Gently blow off any excess dust or infill from the turf blades with a leaf blower to complete the installation.
Pet-Friendly Infill Option 🐾
If pets will be using the new turf, consider using an anti-microbial infill. This specialized material is designed to neutralize odors from pet urine.
Pros:
Odor Control: Actively combats the ammonia smell from pet waste.
Non-Toxic: Safe for both pets and children.
Cooling Properties: Many brands help reduce the surface temperature of the turf.
Cons:
Higher Cost: It is significantly more expensive than standard silica sand.
Maintenance: May require occasional rinsing to "recharge" its odor-neutralizing capabilities.
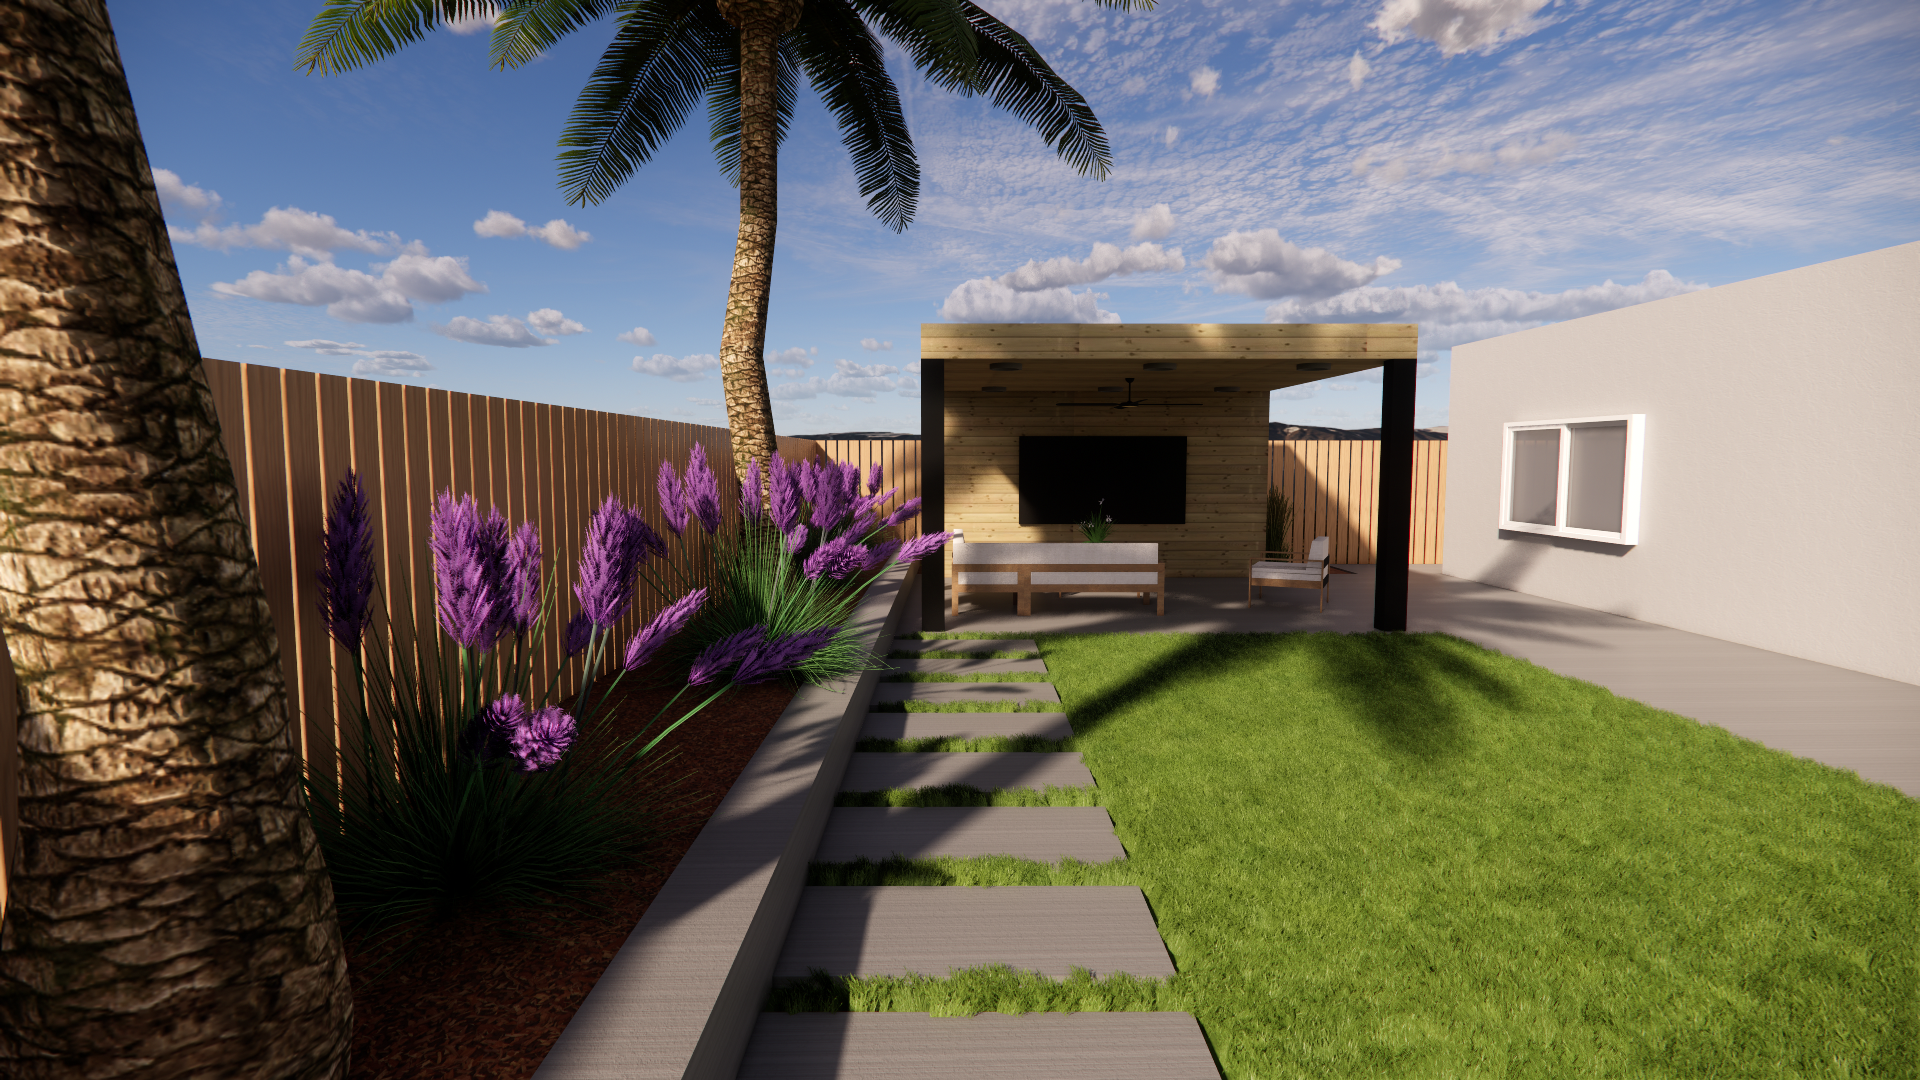
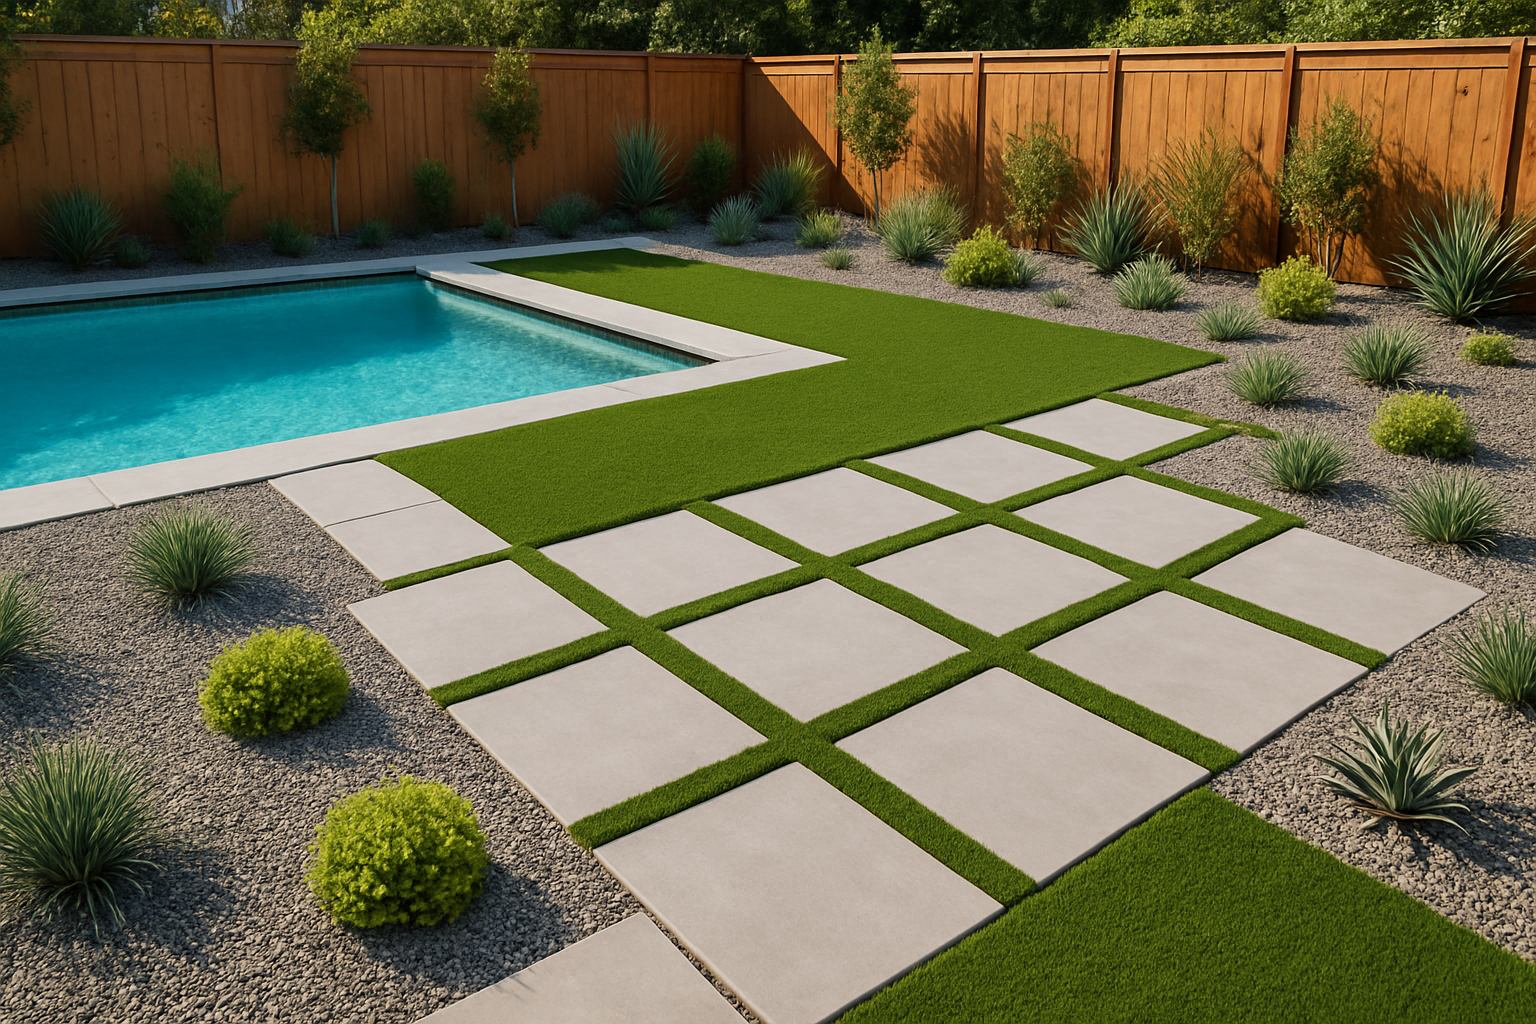
Key Considerations ✨
Drainage: Always ensure your base has a slight slope or crown to direct water away from structures.
Turf Direction: Pointing the turf fibers in the same direction, typically towards the main viewing area, prevents a shiny or unnatural look.
Tension: Keeping the turf stretched and tight during installation is the best way to prevent wrinkles from forming later on.